The Adventures of Fishman (with Photos)

In keeping with the superhero theme kicked off by my interview with super author Kevin Rau, I’m updating a post I published in January 2005 called The Adventures of Fishman — this time with photos. May it inspire anyone with young children to turn their toys into characters of a story that will help parents have fun too.

Whenever I play with my son, I try to have fun. We play well together; in fact, my wife tells me that he has a great time whenever he plays with dad. Sometimes my mind gets carried away, and I make up epic stories with whatever toys are available at the time.

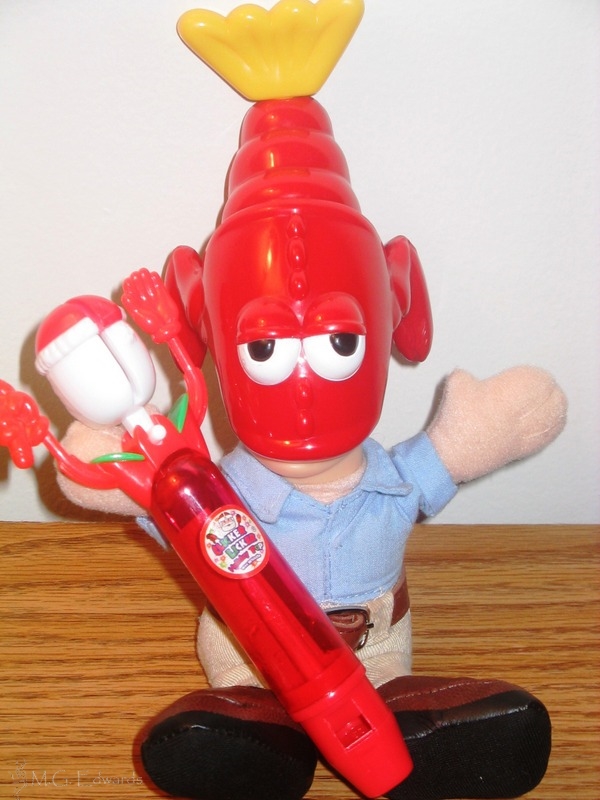
The other night I happened to stick a toy fish on the head of my son’s Mr. Perfect doll, and presto! the superhero “Fishman” was born. Thus began The Adventures of Fishman, a crazy aquatic superhero. Eat your heart out, The Incredibles!

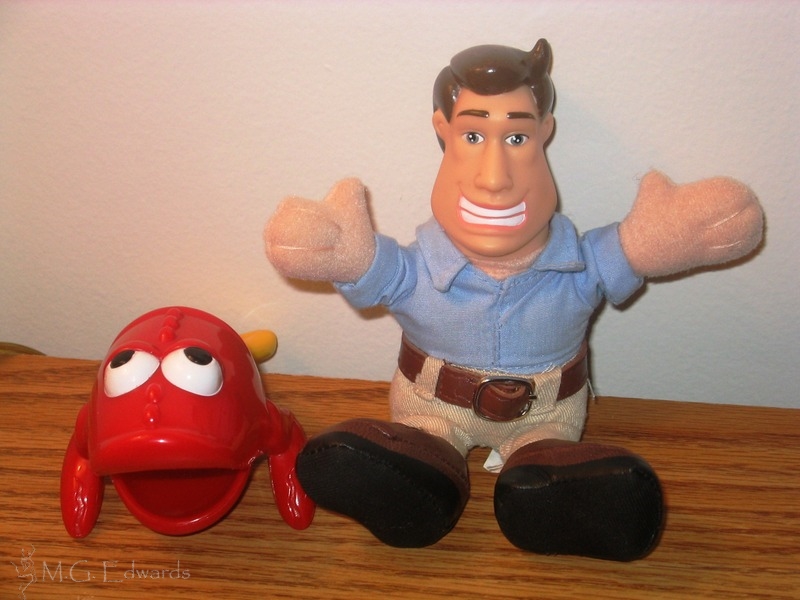
By day, “Fishman” is Mr. Joe Perfect, a mild-mannered consultant for Discovery Consulting. He’s Mr. Everyman, the kind of guy you can bring home to meet the parents. He’s courteous and thoughtful, everything anyone could ever want in a man. He says sweet things when you press his stomach such as, “The ballgame doesn’t really matter. As long as I’m with you, I don’t care what we watch.” Or “Here, let me make dinner tonight,” or “Let me stop and ask directions.” He wears beige khakis and a snazzy blue dress shirt, the wrinkle-free kind with the indestructible buttons. He sports a short, preppy haircut. He’s masculine but not macho. He’s single but a great catch.

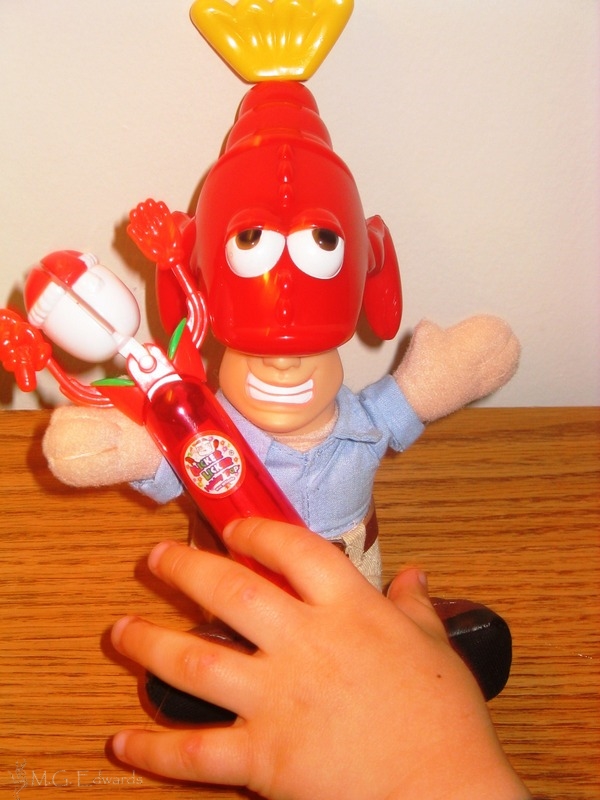
By night, Joe is “Fishman,” a mighty superhero. Endowed with a ruby red iron Fishhead to mask his identity, he carries a candy trident that he uses to fight crime in Discovery Village. After eating a bad filet of soul one night at a local restaurant, Joe found himself suddenly endowed with the superhuman sense of knowing when something fishy is happening. Determined to use his power for good, he uses this ability to sniff out all things rotten and fight evil for the good of mankind and fishdom; well, at least Discovery Village.

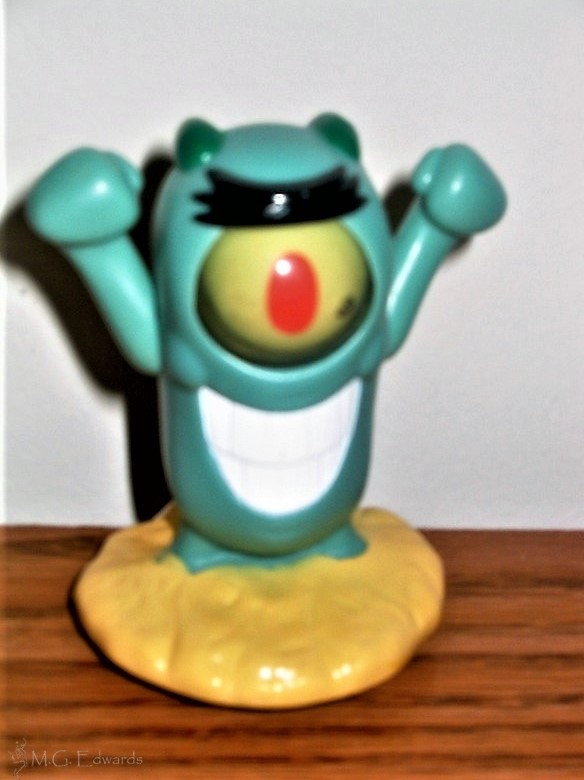
Fishman’s greatest nemesis is the One-Eyed Monster (OEM), a villain who escaped from the sinister labs of Monsters, Inc. and terrorizes the good citizens of Discovery Village. Our superhero’s mission is to stop OEM from carrying out his sinister plans to wreak havoc on the village.

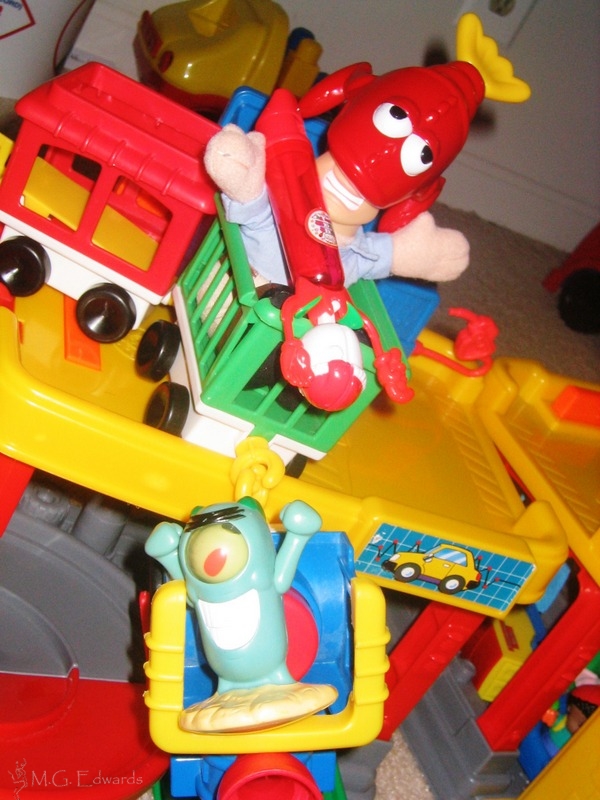
Here are some action shots of Fishman thwarting OEM’s plans to derail a commuter train. Fishman pins down OEM and saves the train before it falls off the edge of Discovery Garage.

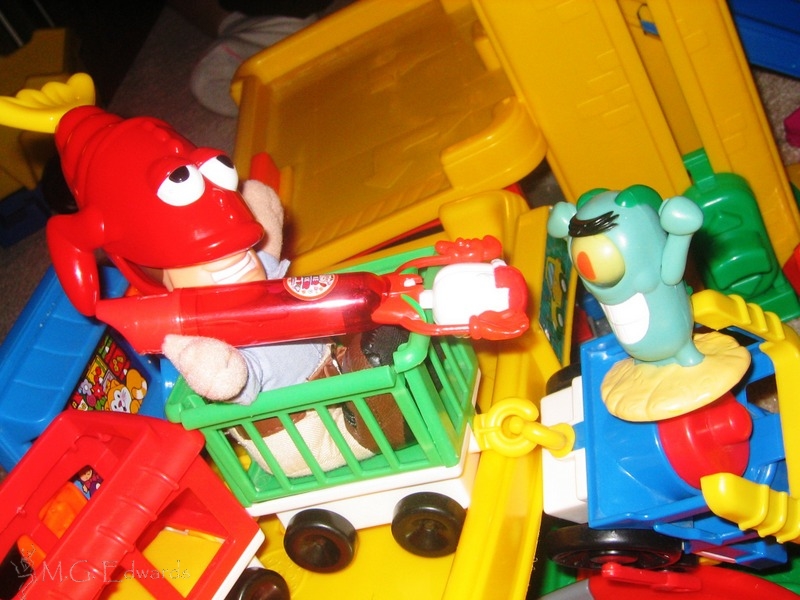
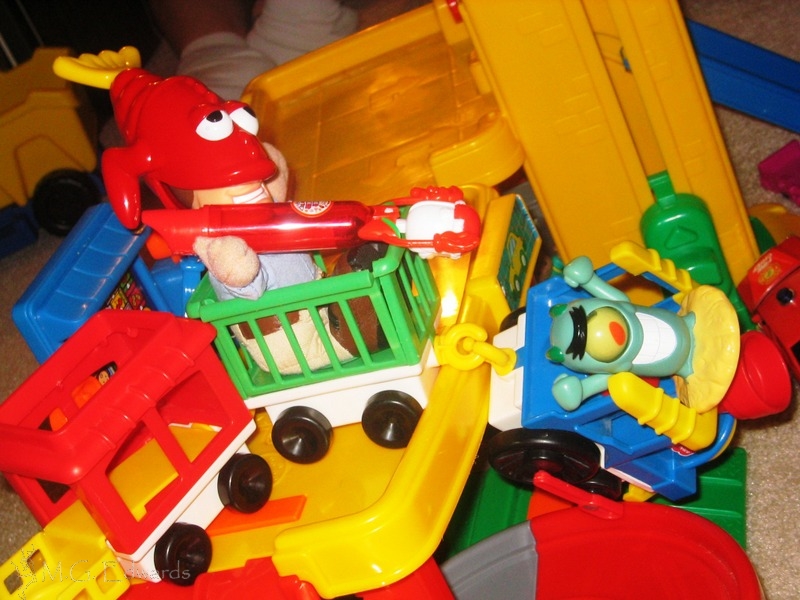
Fishman saves the day again! Three cheers for Fishman!

[table id=8 /]

A Skyline View of Macau (Video)

I took a break this week from writing photo travelogues to try my hand at putting together a (semi)professional video clip. Here’s a clip I took from the top of Mount Fortress (Fortaleza do Monte) overlooking the Historic Centre of Macao. This and other travel video clips are available to watch on the World Adventurers YouTube Channel. If you subscribe to the channel, you’ll receive notification whenever a new clip is added. More than 30 videos have been uploaded to the site (although only a few have been edited). Stay tuned for more.

[embedyt]http://www.youtube.com/watch?v=73Q0-i54fD4&w=498&h=280&hd=1[/embedyt]

View of the Historic Center of Macau from Mount Fortress.

Posting travel videos is something I’ve wanted to do for a long time. I have raw video footage from around the world, but I’ve been too busy to edit and publish clips. It’s a steep learning curve figuring out how to add the video, audio, titles, transitions, and other bells and whistles to make an attractive clip and do it in short order. This is the first of many travel videos I plan to post along with the travelogues I’ve been publishing. Bear with me on the quality – I’m new at this, and it will take a few tries to learn how to make them look more polished.

I used Cyberlink’s PowerDirector software to make this. Having used some other well-known personal video editing programs, I’m convinced that PowerDirector is the best and easiest one to use. I shot this video using a pocket digital camera, so the quality is average. I will try to enhance the footage in the coming months.

Enjoy!

Macau Map

More About Macau
Click on the icons below for more articles about Macau

[table]

World Adventurers,Macau

[/table]

The Routes of Kilimanjaro

The various trekking routes on Mount Kilimanjaro are featured in my book Kilimanjaro: One Man’s Quest to Go Over the Hill, which chronicles my attempt to summit Africa’s highest mountain. The book is on sale now as an e-book for $3.99 and in paperback for $9.99 at Amazon and other booksellers. Kilimanjaro is featured this month as a new release by the World Literary Café.

The routes on Mount Kilimanjaro are as varied as its terrain and vegetation. All ways to the top are difficult, but none are alike. None guarantee you will reach the summit and make it back safely. Some routes, such as the Marangu and Rongai, are considered “easier” than the others because they offer a better chance of success to most climbers. The slopes they ascend are more gradual and longer, and hence give climbers more time to adjust to the high altitude. Steeper climbs, such as those on the Machame and Umbwe routes, are often preferred by more seasoned trekkers. For those seeking a more roundabout way to the summit with great views or a wide range of biodiversity, the Shira Plateau-Lemosho and the Northern Circuit routes could be options. The route you choose depends on you.

kiliroute

Map from “Kilimanjaro – A Trekking Guide to Africa’s Highest Mountain” by Henry Stedman. Trailblazer Publications; 3rd edition. Courtesy of Henry Stedman.

The following are general descriptions of the major routes on Mount Kilimanjaro.

Lemosho Route: A longer, lesser-used route that passes through the Shira Plateau, it merges with the Machame Route. Climbers usually reach the summit either via the Western Breach or Machame Route. Lemosho is a walking safari with possible animal sightings, and guides carry firearms in the event that climbers stumble upon predators.

Marangu Route: Also known as the “Coca-Cola” Route, this is the most popular way to the summit and typically takes six days. Its camps have better facilities than those on other routes. The trail starts at the Marangu Gate and passes through Kibo Huts to the summit. Some claim that it is the easiest route and has a higher success rate because it allows climbers more time to acclimatize and a more gradual ascent.

kiliroute (41)

kiliroute (38)

kiliroute (34)

kiliroute (33)

kiliroute (32)

kiliroute (20)

kiliroute (21)

kiliroute (30)

kiliroute (22)

Machame Route: Also known as the “Whiskey” Route, the Machame is the shortest and steepest route to the summit. It begins on the south side of Kilimanjaro and reaches the summit by scrambling from Barafu Huts up the slope of Kibo Peak. The hard and fast ascent generally decreases climbers’ odds of reaching the summit, although it may be suitable for experienced climbers who adjust quicker to higher altitudes.

Mweka Route: A short, steep route used only for descent. Climbers on the Machame Route often use it to descend the mountain. The trail begins at Barafu Huts and heads south.

Northern Circuit: A lesser-used route that circles the north side of Kibo Peak. Climbers using this route must use another one to reach the summit. The trail follows the alpine desert band around the peak and offers amazing views of the lowlands below.

kiliroute (26)

kiliroute (27)

Rongai Route: Also called the Nalemuru, Nalemoru, Loitokitok, or Simba Route, this is a moderately steep route starting on the north side of Kilimanjaro close to the Kenyan border. I dubbed the Rongai the “Kilimanjaro Beer” Route because it lies somewhere between a Coca-Cola and a whiskey shot in terms of potency. It usually takes six days and merges with the Marangu Route at Kibo Huts. Some claim that it is the easiest way and has a higher success rate because it allows more time to acclimatize. It is relatively sheltered from the elements on the drier side of the mountain, less crowded, and scenic with its alpine vistas. The original trail began further away in the village of Rongai, but it was closed several years ago, and the Nalemuru was unofficially renamed the Rongai.

kiliroute (7)

kiliroute (8)

kiliroute (11)

kiliroute (13)

kiliroute (16)

kiliroute (17)

kiliroute (18)

kiliroute (19)

Shira Plateau Route: A long, lesser-used route on the Shira Plateau that merges with the Lemosho Route at Shira Caves Camp. Trekkers who use this route generally follow the Lemosho or Machame routes to the summit.

Umbwe Route: Also known as the “Vodka” Route, it is one of the most difficult routes on Kilimanjaro. Climbers ascend via the Western Breach or the Machame Route. Considered one of the most spectacular ways to reach the summit, it follows a ridge and then passes below the Southern Icefield to merge with the Machame Route at Barafu Huts.

Western Breach/Arrow Glacier Route: Also considered part of the Lemosho Route, this is the most difficult route to the summit. Climbers depart Arrow Glacier Huts, a camp destroyed by rockslides, and summit by scrambling up the Western Breach or climbing the Breach Wall, a 100-meter-high ascent up an icy rock wall. This requires some technical skill, a high level of endurance, and an increased tolerance for high altitudes than the Machame or Marangu routes. It is prone to rockslides and sometimes icy, requiring climbers to cut ice steps or wear crampons. It was closed in 2006 when a rockslide killed several climbers but reopened in December 2007.


More About Tanzania and Kilimanjaro
Click on the icons below for more articles about Tanzania and Kilimanjaro

[table]

World Adventurers,Tanzania
Kilimanjaro,Tanzania

[/table]